10 Easy Ways to Master EQ in your Home Recordings
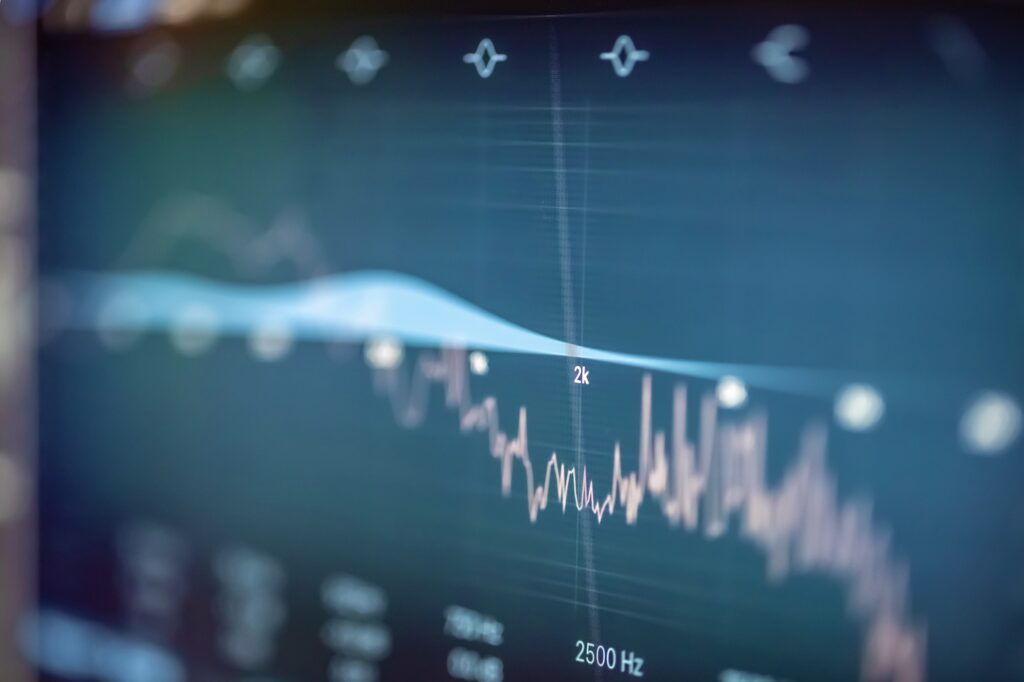
When it comes to home recordings, one of the most essential tools at your disposal is equalization, or EQ. Understanding how to effectively use EQ can significantly enhance the quality of your recordings, helping you achieve a professional sound even in a DIY setup. In this article, we’ll explore tips and tricks to master EQ in your home recordings, ensuring your tracks sound balanced, clear, and polished.
Understanding EQ
EQ stands for equalization, a process used to adjust the balance between different frequency components of an audio signal. It allows you to boost or cut specific frequencies to shape the sound of your recording.
If you want to master EQ, then you need to understand that there are primarily 3 types of EQ that sound engineers use:
- Parametric EQ: Offers control over frequency, bandwidth, and gain, providing precise adjustments.
- Graphic EQ: Uses fixed frequency bands with sliders to adjust the gain of each band.
- Shelving EQ: Boosts or cuts frequencies above or below a specified point, commonly used for bass and treble adjustments.

Tips and Tricks To Master EQ in Home Recordings
1. Start with a Clean Recording
Before diving into EQ, ensure you have a clean, well-recorded track. Use quality microphones, proper placement, and good room acoustics to capture the best sound possible. This minimizes the need for excessive EQ adjustments later. You cannot master EQ without a having a clean recording to begin with.
2. Understand Frequency Ranges
Knowing the typical frequency ranges of instruments and vocals is crucial to master EQ. Here’s a quick reference:
- Sub-bass (20-60 Hz): Adds power and rumble.
- Bass (60-250 Hz): Contains the weight and fullness.
- Low mids (250-500 Hz): Adds body and warmth.
- Mids (500 Hz-2 kHz): Clarity and definition.
- High mids (2-6 kHz): Presence and attack.
- Highs (6-20 kHz): Air and sparkle.
3. Use Subtractive EQ First
Before boosting frequencies, try subtractive EQ to cut unwanted frequencies. This approach helps to clean up the mix without adding unnecessary gain. Common cuts include:
- Low-end rumble: Use a high-pass filter to remove frequencies below 20-40 Hz.
- Mud and boxiness: Cut around 200-500 Hz to reduce muddiness.
- Harshness: Cut around 2-4 kHz to tame harsh vocals or instruments.
4. Employ High-Pass and Low-Pass Filters
High-pass filters (HPF) remove low frequencies, while low-pass filters (LPF) remove high frequencies. Use these filters to clean up tracks by removing unwanted frequencies that don’t contribute to the overall sound.
- Vocals: Apply an HPF to remove low-end rumble (around 80-100 Hz).
- Guitars: Use an HPF to clear up the low end and avoid conflicts with the bass (around 80 Hz).
- Cymbals: Apply an LPF to remove harsh high frequencies (above 15 kHz).
5. EQ in Context
Always EQ your tracks in the context of the full mix. Soloing a track can be useful for identifying specific issues, but the adjustments should ultimately enhance the track within the mix. What sounds great in solo may not work well with other instruments.
6. Use Reference Tracks
Reference tracks are professionally mixed songs similar to your project. Use them to compare frequency balance and overall tonal quality. This can help you make informed EQ decisions and achieve a more polished sound.
7. Be Gentle with Boosts
While cutting frequencies can often yield better results, sometimes a boost is necessary. When boosting, be gentle and make small adjustments. Over-boosting can lead to an unnatural and harsh sound. Focus on enhancing key elements rather than overhauling the entire track.
8. Utilize EQ Presets
Many EQ plugins come with presets designed for specific instruments or situations. While they may not be perfect for every scenario, they can serve as a good starting point. Adjust the preset to fit the unique characteristics of your recording.
9. Use EQ Automation
Automation allows you to change EQ settings dynamically throughout the track. This is particularly useful for addressing issues that occur only in certain parts of the recording, such as a resonant frequency that appears during a specific vocal phrase.
10. Trust Your Ears
While technical knowledge and visual aids (like frequency analyzers) are valuable, trusting your ears is paramount. Listen critically and make adjustments based on what sounds best, not just what looks right on the screen.
Common EQ Techniques for Home Recordings
Vocals
- High-pass filter: Remove low-end rumble (80-100 Hz).
- Presence boost: Slight boost around 3-5 kHz for clarity.
- Airiness: Gentle boost above 10 kHz for sparkle.
Guitars
- High-pass filter: Remove low-end clutter (80 Hz).
- Body: Boost around 100-250 Hz for fullness.
- Cut mud: Reduce 200-400 Hz if too muddy.
- Presence: Boost around 3-5 kHz for definition.
Drums
- Kick drum: Boost around 60-100 Hz for thump, cut 200-400 Hz to reduce boxiness, boost 3-5 kHz for click.
- Snare drum: Boost 150-250 Hz for body, cut 400-800 Hz to reduce mud, boost 2-5 kHz for snap.
- Cymbals: Use a high-pass filter around 200-300 Hz, boost 6-10 kHz for shimmer.
Bass
- Low-end: Boost around 60-80 Hz for weight.
- Clarity: Cut 200-300 Hz to reduce mud, boost 700 Hz-1 kHz for definition.
To master EQ, you need to understand that it is a journey that involves both technical understanding and critical listening. By following these tips and tricks, you can significantly improve the quality of your home recordings. Remember to start with a clean recording, understand the frequency ranges, and make thoughtful adjustments in the context of the full mix. With practice and patience, you’ll develop a keen ear for your mixes and achieve a professional sound in your home studio. Happy recording!
Leave a Comment
You must be logged in to post a comment.